Even in a non-open-world format, Honkai: Star Rail consistently elevates exploration through inventive mechanics—remember Penacony's gravity-defying Bubble Bridges? The Soulglad Scorchsand Audition Venue takes this further with six elusive treasure puzzles guarded by quirky Mr. Soda characters. Each clue leads to generous rewards, but unlocking them requires more than just sharp eyes. Did players realize they'd need to master shuttle controls like a cosmic DJ? And why must travelers complete the area's main story first before even accessing these trials? Let's unravel every secret.
🔓 Unlocking the Treasure Hunt
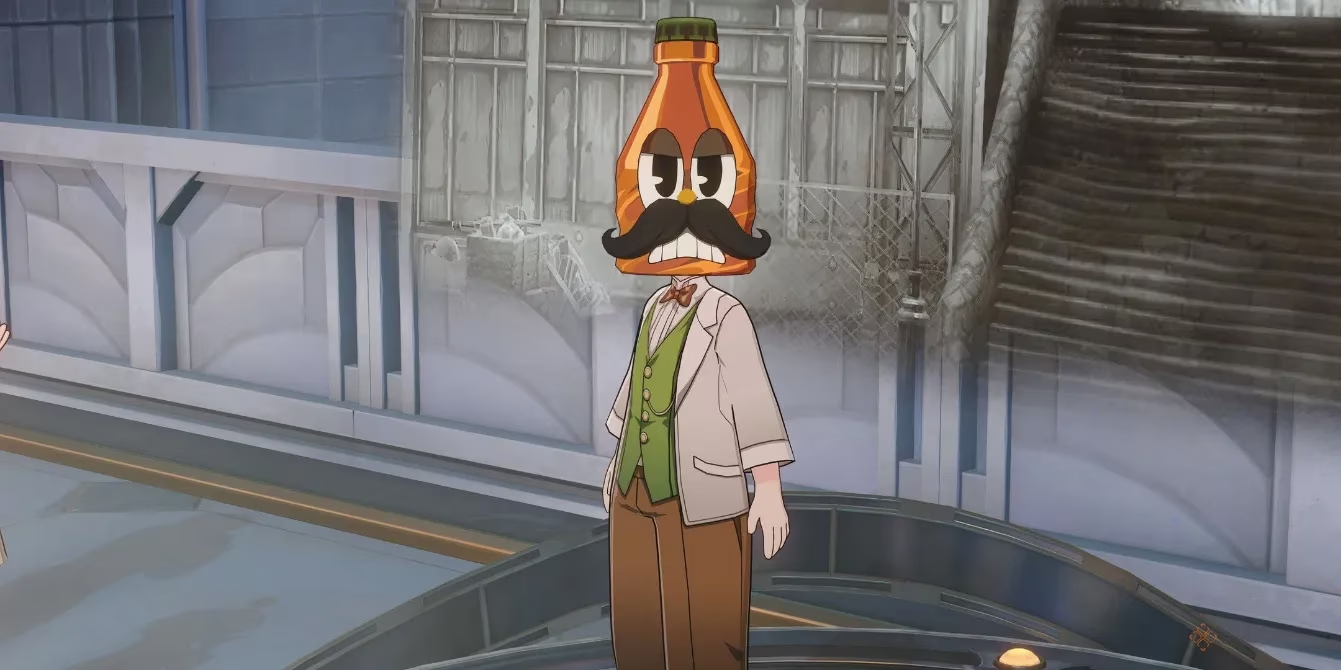
Before hunting treasures, players must finish the Soulglad Scorchsand main storyline and trigger the Scorchsand Vacation quest. Only then does the alternate route—previously blocked—open up. But here's the twist: treasure clues appear immediately after riding the first shuttle during this quest. Six Mr. Soda NPCs await across shuttle-accessible zones, plus a bonus seventh near the starting point! While the starter Mr. Soda offers guidance, the other six each hold unique puzzles. Teleporting directly to puzzle locations? That won’t work. Instead, specific shuttle button sequences must be inputted before entering each zone.
🎛️ Mastering the Shuttle Controls
Every shuttle features four circular buttons, each requiring precise presses (1-4 times) per puzzle. Confused? Here’s how they’re numbered:
-
Outermost Ring Button - The largest outer circle.
-
Inner Disc Button - The mid-sized disc just inside the outer ring.
-
Mechanical Feature Button - Changes per shuttle: a key (1st), flap (2nd), or moving disc (3rd).
-
Top Central Button - The small button atop the control panel.
Without this knowledge, travelers might mash buttons randomly—but why waste time when solutions exist? Each Mr. Soda’s clue hints at both the destination and the required button combo. Memorize this layout, and half the battle’s won!
🧩 Complete Treasure Puzzle Breakdown
Here’s every challenge detailed—save this table for your expedition:
| Mr. Soda | Clue Given | Target Destination | Button Combination (Press Counts) | Puzzle Solution |
|---|---|---|---|---|
| 1 | The Unchosen Path 2 | Acting Challenge | Button 2: Once Button 4: Twice Button 3: Twice |
Answer trivia correctly or battle two Lordly Trashcans. |
| 2 | The Unchosen Path 1 | Action Challenge | Button 1: Twice Button 3: Thrice Button 4: Once |
Defeat the Warp Trotter roaming the area. |
| 3 | The Unchosen Path 4 | Time Trial | Button 1: Once Button 3: Twice Button 4: Thrice |
Reveal a golden Clockie statue via a bounce puzzle, then solve a Dream Jigsaw. |
| 4 | The Unchosen Path 3 | Gunfire Trial | Button 3: Thrice Button 2: Twice Button 4: Twice |
Take Hanu’s TV elevator to a secret floor; clear one Hanu Wars stage. |
| 5 | The Unchosen Path 6 | Arena II | Button 3: Once Button 4: Once Button 1: Thrice |
Score 3,000 points in a Hamster Ball Knight minigame. |
| 6 | The Unchosen Path 5 | Arena I | Button 3: Twice Button 2: Once Button 4: Four times |
Smash billboards rapidly—use AoE attacks for maximum hits! |
💡 Pro Tips for Efficient Treasure Hunting
-
Order Matters: Complete puzzles sequentially; later combos build on earlier button logic.
-
Warp Trotter Tactics: For Mr. Soda #2’s trotter, freeze or imprison it first—don’t let it flee!
-
Billboard Bonus: In Puzzle #6, characters like Himeko or Herta excel at clearing clusters quickly.
-
Reward Rundown: Each cleared puzzle drops Stellar Jades, Relic materials, and Credits—worth the effort!
So, why settle for surface-level exploration when Penacony’s depths hide such riches? With this guide, Trailblazers can transform from confused commuters to shuttle-button maestros. Ready to claim your bounty? The auditions await—no acting skills required!
Comments